OpenSSL is an open source toolkit implementing the Secure Sockets Layer (SSL v2/v3) and Transport Layer Security (TLS v1) protocols. In addition it provides a cryptography library. One of the interesting features beside the already mentioned is the ability to use it as a Certificate Authority (CA). By doing so you can create your own self signed certificates which you could use i.e. to encrypt sessions and authenticate entities such as web servers or real users.
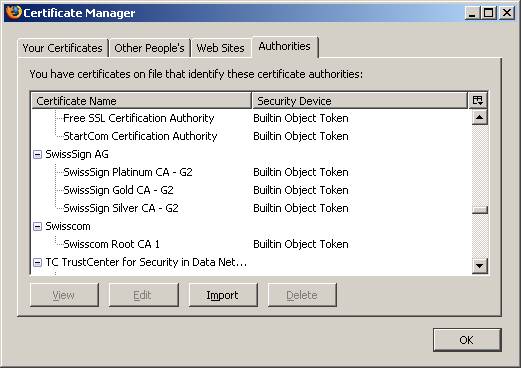
However, you should be aware that the purpose of self signed certificates is limited in such case that certificate validation for outside entities is not that easy as when using certificates that had been issued by official certificate authorities. Official certificates can easily be validated by applying the public CA key (the public certificate) of the issuing CA. Fortunately, a variety of applications such as web browsers or e-clients have a built-in CA root store, containing the public certificates of authorized certificate issuers. Below the picture of the Firefox CA root store.

The drawback of using self signed certificates is the limited range and the fact that the public part of your own issuing CA is not known to anybody. However, self signed certificates are an excellent and cheap method for personal use. Moreover, the application range can even go beyond organization boundaries by having proper distribution und supporting processes for outside entities.
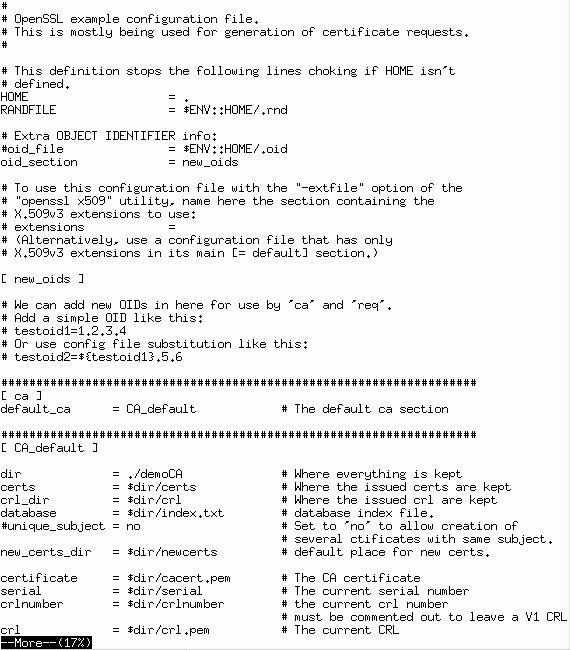
Fortunately, OpenSSL provides a tool for establishing / using the certificate authority - it is called “CA.pl”, in Slackware you will find it in /etc/ssl/misc. Before you use this tool you might want to have a look at and adapt the file “openssl.cnf” in /etc/ssl. This file holds and stores a bunch of certificate specific settings, such as default certificate validity period and many more. Adapt it to your needs – see picture below.

First, you must create the CA hierarchy (in /etc/ssl/misc):
./CA.pl -newca
Then, issue:
./CA.pl –newreq
In short, this creates the private key and generates a certificate request. In doing so, you have to answer a number of questions. Default answers are derived from the file “openssl.cnf”.
Third, type:
CA.pl –signreq
This creates the certificate by using the public key and the certificate request. The resulting file is PEM formatted, if you have an application that prefers PKCS12 formatted certificates, issue something like:
CA.pl -pkcs12 "My Test Certificate"
The “CA.pl” interface eases the process of creating OpenSSL certificates. However, in some cases it might be required to do some stuff manually. One example is the remove the password from a private key, e.g. when using it with a web server for encryption and authentication. Note: Do this only if you know what you do, leaving a private key unencrypted is a major security risk.
Remove the pass phrase on an RSA private key:
openssl rsa -in key.pem -out keyout.pem
To encrypt a private key using triple DES:
openssl rsa -in key.pem -des3 -out keyout.pem
To convert a private key from PEM to DER format:
openssl rsa -in key.pem -outform DER -out keyout.der
To print out the components of a private key to standard output:
openssl rsa -in key.pem -text -noout
To just output the public part of a private key:
openssl rsa -in key.pem -pubout -out pubkey.pem
The manual way from key to certificate
The command “./CA.pl –newreq” implies the creation of a RSA key. The manual command for a 2048 bit long key would be:
openssl genrsa -des3 –out mykey.pem 2048
To create a certificate request, type:
openssl req -new -key mykey.pem -out cert.csr
To create a self signed certificate with a validity of 365 days
openssl req -new -x509 -key mykey.pem -out mycert.pem -days 365
To convert a certificate in PEM format to pkcs12 format
openssl pkcs12 -export -out mycert.p12 -inkey ./mykey.pem -in ./mycert.pem
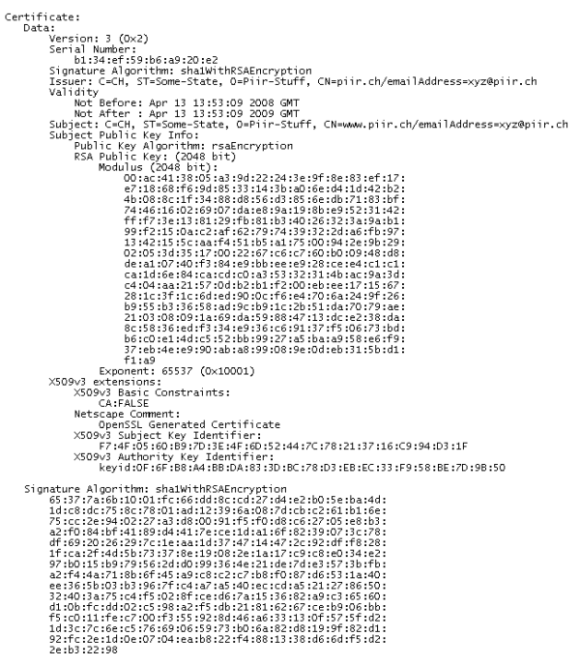
Finally, the following command shows one of my certificates:
openssl x509 -in piircert.pem -text -noout
